Amplifying Analog Voltages with the LM358
05.03.2025
Elektronik | Funk | Software
Der Technik-Blog

There is also a video on YouTube for this article: Arduino CC1101 Transceiver
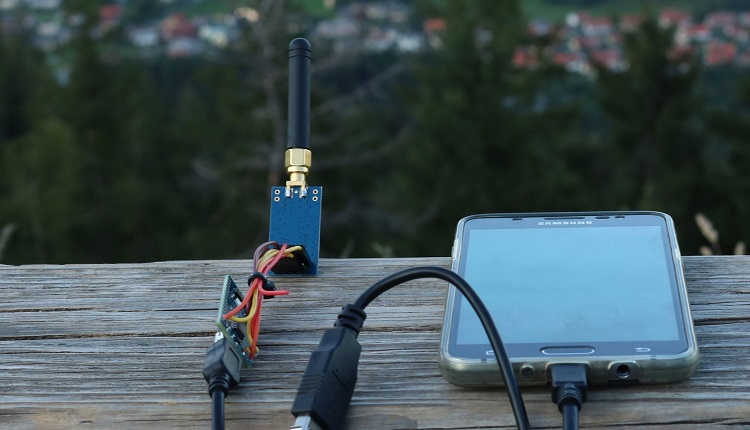
The CC1101 433 mhz wireless module is a good transceiver for the Arduino board. There are different modules with different frequencies. The frequencies can also be modified. The most popular and also the most used band is the 70 cm band. With the SMA antenna connector it is also possible to use larger and more profitable antennas. The module is wired via the SPI interface. On other websites you will often read that the module can not be connected directly to the SPI pins because of the 3.3 Volt operating voltage. Basically this is true, however, during our test we connected the module directly to the Arduino for a few days and we could not detect any problems.
The module is connected via the SPI pins and powered with 3.3 volts. Therefore the pins are not changeable.
The module has a better range than the combination of RF-5V & FS1000A modules. Outside you can reach with the supplied antenna a range of 300 meters without problems. With better antennas you can reach ranges of up to 5 kilometers. There are also small power amplifiers that can be used to increase the transmission power by up to 5 watts. With power amplifiers, you can bridge distances of over 15 kilometers. If you want to operate the module with better antennas and amplifiers, you must have an amateur license and comply with the legal requirements.
Code for the Transmitter:
#include <ELECHOUSE_CC1101.h>
int i;

void setup() {
  Serial.begin(9600);
  ELECHOUSE_cc1101.Init(F_433);
}

void loop() {
  i++;
  delay(500);
  String tx_message = "Nr. of TX attempts: " + String(i);
  int m_length = tx_message.length();
  byte txbyte[m_length];
  tx_message.getBytes(txbyte, m_length + 1);
  Serial.println((char *)txbyte);
  ELECHOUSE_cc1101.SendData(txbyte, m_length);
}
Code for the Receiver:
#include <ELECHOUSE_CC1101.h>
byte buffer[100] = {0};

void setup()
{
  Serial.begin(9600);
  Serial.println("Rx");
  ELECHOUSE_cc1101.Init(F_433);
  ELECHOUSE_cc1101.SetReceive();
}

void loop()
{
  if (ELECHOUSE_cc1101.CheckReceiveFlag()) {
    ELECHOUSE_cc1101.ReceiveData(buffer);
    String str((char*) buffer);
    Serial.println(str);
    ELECHOUSE_cc1101.SetReceive();
  }
}
On this page we will show you how to make a data transfer with the CC1101 and an Arduino. Wiring plan and libraries are available on AEQ-WEB
read more
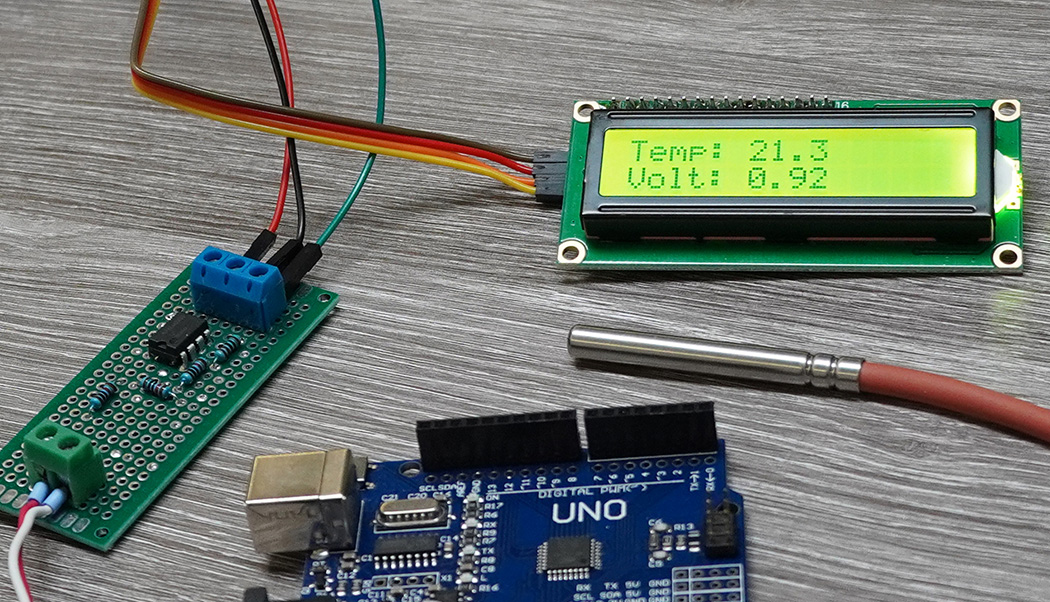
PT1000 sensors can not be measured directly analog with a microcontroller. How to build a PT100 Converter with LM358 and Arduino?
read moreAEQ-WEB © 2015-2026 All Right Reserved