Amplifying Analog Voltages with the LM358
05.03.2025
Elektronik | Funk | Software
Der Technik-Blog

There is also a video on YouTube for this article: Arduino Motion Detector
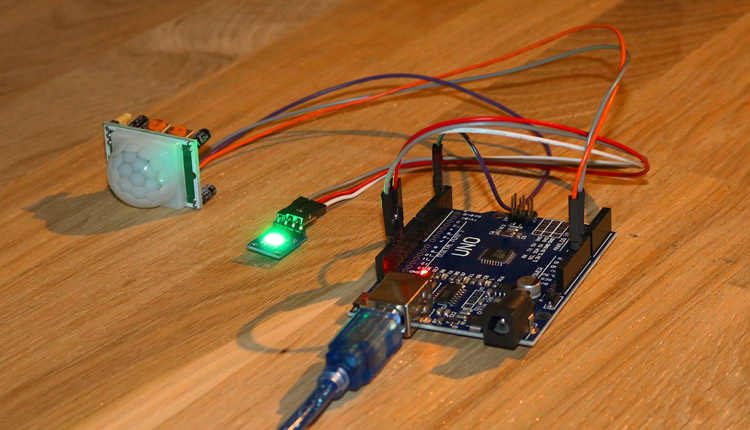
The HC-SR501 is a passive infrared motion detector sensor which can be easily operated with the Arduino. The sensor has a digital output and can switch 3.3 volts for a specific time. It is also possible to change the holding time. In addition, the sensor is very energy efficient and built for a wide voltage range. The Arduino read the value from the sensor and switch one of the digital output PIN12 or PIN13 depending on the sensor status. We installed a red and a green led in this example. If a movement is detected, the red led turn on and if no movement is detected, the green LED turn on.
| Range | 3 to 7 meters |
|---|---|
| Holding time | 5 to 300 seconds |
| Voltage | 5 to 20 volts |
| Detection range | max. 100 degrees |
This sensor is a pyroelectric sensor (PIR sensor) that responds to temperature changes. If a person enters the room or detection area, the body heat is recorded by the sensor as a change in the ambient temperature. Therefore, the sensor also responds to animals that emit enough body heat. Alternatively, a motion detector can be realized with radar waves or ultrasonic. There are also motion detectors that have a combination of two different sensors. If a movement is detected, the sensor triggers and switches on the digital output. The Output is up for about 5 seconds. The sensor turns off and on again after a few seconds, even if motion is detected continuously. If a timer is programmed in the Arduino software, you can compensate the switching between high and low levels. When working with the sensor for the first time, finding the right setting is a little bit complicated. However, the sensor can be adjusted very well and works very good with the correct settings.
| P1 | Hang time |
|---|---|
| P2 | Sensitivity and detection range |
| J1 | Single or multiple impulse |
| GND | Ground (0V) |
| OUT | Digital output (3,3V) |
| VIN | Power in (5V) |
The sensor is supplied with 5 volts directly form Arduino Board. A library for the software is not needed. The code looks like this:
int ledRed = 13;    // LED on Pin 13 (RED)
int ledGreen = 12;  // LED on Pin 12 (Green)
int SensorPin = 2;  // Digital Sensor Input
int SensorValue;

void setup() {
  pinMode(ledRed, OUTPUT);
  pinMode(ledGreen, OUTPUT);
  pinMode(SensorPin, INPUT);
  digitalWrite(ledRed, LOW);
  digitalWrite(ledGreen, LOW);
}

void loop() {
  SensorValue = digitalRead(SensorPin);
  if(SensorValue == HIGH){
  digitalWrite(ledRed, HIGH);
  digitalWrite(ledGreen, LOW);
  }else{
  digitalWrite(ledRed, LOW);
  digitalWrite(ledGreen, HIGH);
  }
}

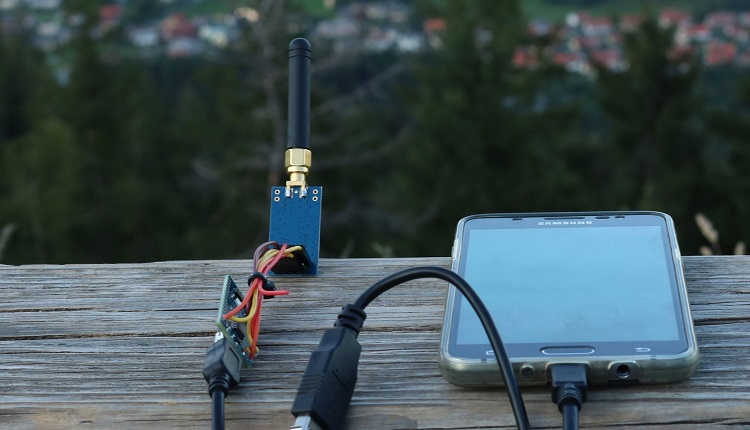
On this page we will show you how to make a data transfer with the CC1101 and an Arduino. Wiring plan and libraries are available on AEQ-WEB
read more
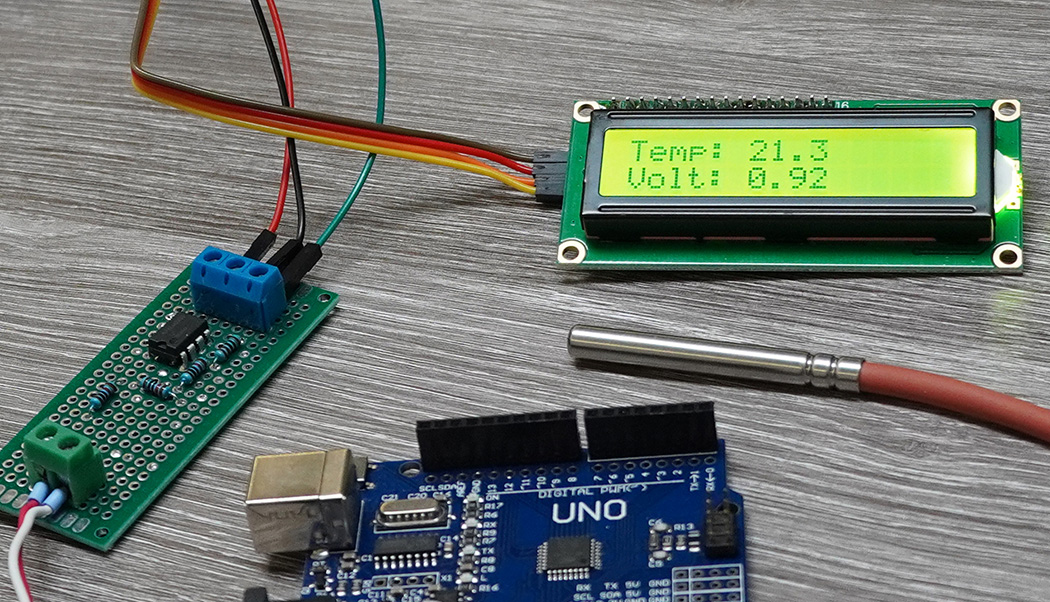
PT1000 sensors can not be measured directly analog with a microcontroller. How to build a PT100 Converter with LM358 and Arduino?
read moreAEQ-WEB © 2015-2026 All Right Reserved