Amplifying Analog Voltages with the LM358
05.03.2025
Elektronik | Funk | Software
Der Technik-Blog

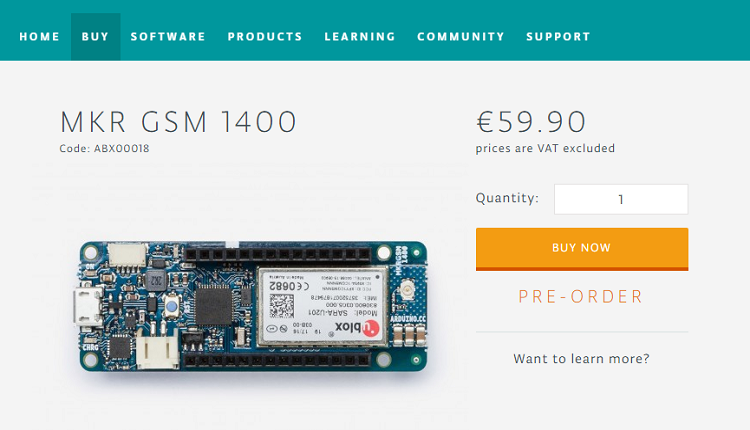
Two new MKR boards were introduced at the end of September. The MKR GSM 1400 and the MKR WAN 1300 from Arduino are two new boards with integrated Internet connectivity. The GSM board will be very popular as there are only a few GSM modules for Internet connectivity. The integrated GSM module is also suitable for beginners because it does not require expert knowledge. The module can already be pre-ordered and will be delivered in the middle of November 2017. Since the board is not yet available, we can not provide any tutorials yet. As soon as we get our board, we will update this page and show you how to make an HTTP request with the MKR GSM & WAN. We also want to publish more information about HTTP/HTTPS Post and GSM-GRPS/UMTS connections.
The price for the original Arduino MKR GSM 1400 is currently around 60 €. With shipping and VAT, the board comes in Europe at a price of around € 80. Eighty euros is a very high price for this board, but if you consider that other original products from Arduino with GSM radio cost significantly more, it is even a cheap entry. We think there will be some cheaper clones on the market later this year. If you still need a wireless Internet connection, you can also switch to cheaper alternatives.
Currently, there are some other ways that Arduino can also be used to send data wirelessly to a server. In addition to the Arduino GSM Shield, there is also the SIM 800 module, where data can be sent to a server via the serial interface. The data transmission is also supported by HTTP POST Requests. There are also modules from Siemens, however not all support a GPRS connection. SMS messages can be sent and received, as well as calls made.
The new controller has 256 KB of memory and 32 KB of RAM. The mobile radio module is powered by UBLOX (SARA-U201) and also supports the frequency bands for GSM / HSPDA in Europe. The GSM module can also be controlled with AT commands. The Arduino works with 3.3 Volt. It is also possible to use components and modules with 5 volts, but the voltage at the I / O pins has to be adjusted to 3.3 volts. Also with the software there should be more improvements and extensions.
The current information is from arduino.cc und UBLOX.

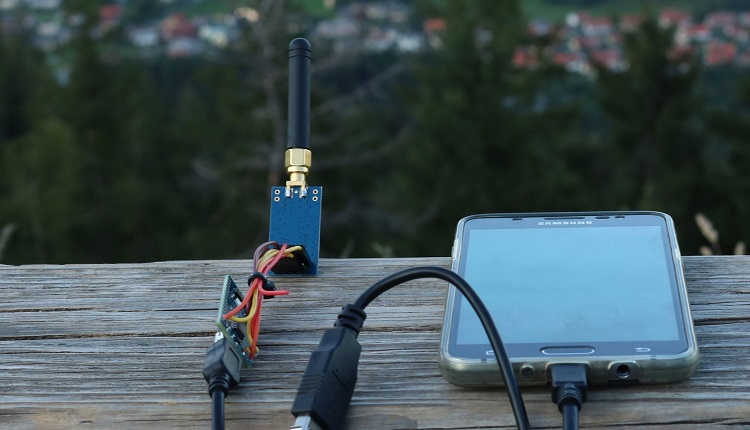
On this page we will show you how to make a data transfer with the CC1101 and an Arduino. Wiring plan and libraries are available on AEQ-WEB
read more
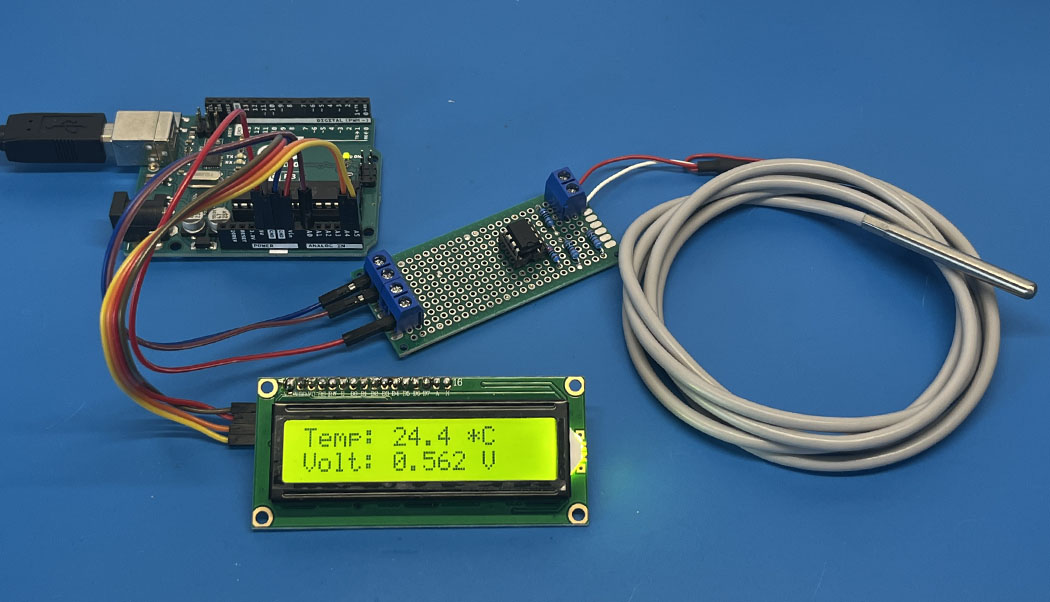
The PT100 is a very precise industrial temperature sensor. This article is about building a measuring amplifier for reading a PT100 on the Arduino
read moreAEQ-WEB © 2015-2026 All Right Reserved