Amplifying Analog Voltages with the LM358
05.03.2025
Elektronik | Funk | Software
Der Technik-Blog

There is a video on YouTube for this article: E-Bike conversion kit - build your own electric bike
E-bikes are very popular and today they have a good performance. Only the price is often very expensive. This article is about self-built e-bikes and how you convert an existing bike into an e-bike.
The idea would be an e-bike that is 100% electric. The engine should also be able to pull a weight of more than 100 Kilo over a slight slope. At this weight, the bike should still have a range of at least 30 kilometers. The cost should be less than $ 500.
There are various conversion kits for e-bikes on Ebay or Amazon. Before such a kit is ordered, the correct size of the wheel must be known. The kit cost about $ 250. The conversion kit includes a Wheel with an integrated engine, a control unit and a large display. The kit used in this project is from AFTERPARTZ.
The front engine is a brushless motor. The power of the motor is 250 watts, which is sufficient at a voltage of 36 volts and above all legally allowed. By default, the engine is limited to 25 km / h, which complies with the legal requirements. However, this limitation can be removed, so that a speed of over 30 km / h can be reached on a straight road. In practice, we have found out that 20 km / h is more than enough and in urban areas it is hardly possible to drive more than 25 km / h anyway. The front engine is firmly installed in the wheel and can not be opened.
On the new wheel, the already existing braking device can be used. It is possible to install a brake disc or to use the conventional V-brake on the frame. During the installation of the brakes we could not find any problems
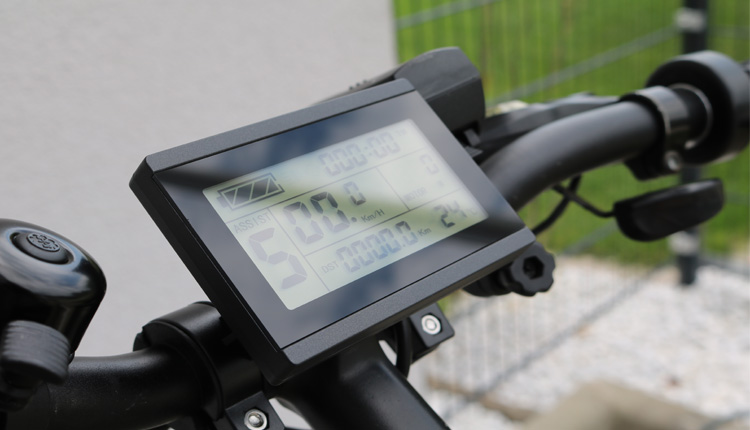
The multifunction display is easy to read and has a very good contrast. A backlight is also integrated. The display can also be used to program the motor controller. The display shows all important parameters (battery level, temperature, motor power in watts, speed, travel time, etc.). Before the first ride can start, the wheel size must be specified in Software. The basic settings can be reached by holding down the two arrow keys when the wheel is not rotating. There are also many other setting options, for the engine control, pedal sensor and cruise control. A detailed description can be found here: Datasheet of KT3-LCD.
Also included are some sensors that basically do not need to be connected. However, it is recommended to mount the sensor for the speed above the spoke, otherwise it is not possible to get the current speed of the wheel. It is not necessary to connect the pedelec sensor (kick sensor) to controller. The engine will only switch on when the switch is pressed. In addition, two new brake levers are included. These brake levers are made with plastic and therefore they have a worse quality. The integrated sensor triggers when the brake is applied. The built-in switch is a normally open contact, it does not need to be connected. Therefore the motor run also when a brake is applied. So you have to switch of the throttle during a braking.
The battery can be choose depending on the bike between different designs. In this example, instead of the bottle holder, the battery holder is mounted with the battery. The capacity should be more than 7 amp hours and the voltage must be 36 volts. Our battery contains Samsung SDI cells. Batteries with more capacity have more range. The charging time of the battery is approximately 4 hours when it is discharged to 80%.
Our battery has a capacity of 10.4 amp hours, which corresponds to an output of almost 375 watt-hours. With a body weight of 100 KG, we were able to drive 28 kilometers by a speed of 22 Km/h. The end result is therefore very satisfactory and has even exceeded our expectations. We also noticed that the engine in a particularly positive way, because it pulls the bike up even without having to help. In the meantime, we have drived more than 250 kilometers by e-bike and it is still a lot of fun.

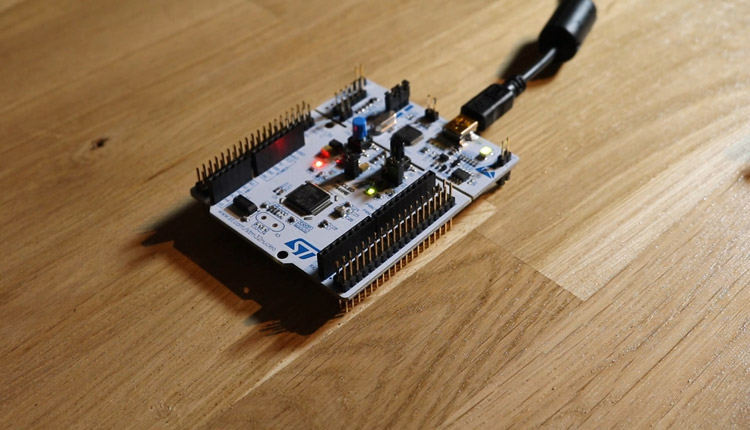
This article is a short instruction how to install the CubeIDE from STM. After install, we create a simple blink example with the onboard led in c
read more
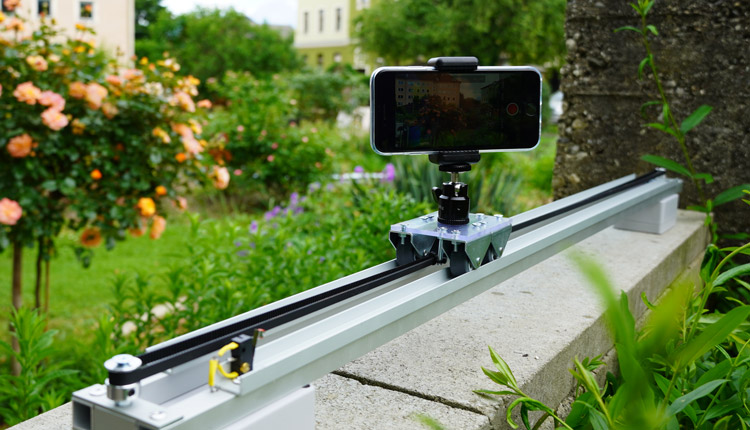
Electronic camera sliders are very expensive. We show how to build an electronic cam slider with a stepper motor for less than 100 euros.
read moreAEQ-WEB © 2015-2025 All Right Reserved