Amplifying Analog Voltages with the LM358
05.03.2025
Elektronik | Funk | Software
Der Technik-Blog

The Helium network is one of the largest global LoRaWAN networks. In some areas, the network coverage is already better than TTN. Although this is a commercial LoRaWAN network, it is also quite interesting for Makers. This article is about setting up sensors on Helium LoRaWAN. As an example, the already known LHT65 temperature/humidity sensor from Dragino is used.
The Helium LoRaWAN has grown rapidly in a very short time due to the popularity of HNT mining. Like TTN (The Things Network), it is also a global LoRaWAN network. In contrast to TTN, where the use is free of charge, on Helium you have to pay a data credit (DC) per 24 bytes for the data transfer. Currently, you get 10,000 DCs for free when you register, which is quite sufficient for the beginning. After these DCs have been used up, additional data credits can be added for a fee. An LHT65 that sends data to Helium every 10 minutes costs less than a dollar a year. Also, Helium only supports OTTA and not ABP, but that should not be a problem for most sensors.
The Helium Console is the central management for all sensors. Those who have experience with TTN will miss many features at first glance. For example, Helium-LoRa does not have an application where sensors, interfaces and encoders/decoders are combined for a specific sensor group. With Helium, instead of the application, there are so-called flows that are assigned to each sensor. In return, however, there are other features, such as access to the diagnostic tool from a hotspot or gateway. However, the basic functions such as a payload coder or the OTTA procedure of LoRaWAN are the same for all networks.
A new sensor can be inserted under the Devices menu item. All keys necessary for OTTA are already generated by Helium. You can adopt these keys by overwriting the manufacturer keys on the sensor. Of course you can also use the preconfigured keys from the manufacturer. This saves the reprogramming of the sensor. The following screenshot shows the registration process in the Helium console:
After the device has been created, it appears in the device list. It can take up to 20 minutes until the sensor is fully registered. You should therefore wait a while before switching on the sensor for the first time. The following screenshot shows the previously set up sensor:
About 20 minutes after registration, the respective sensor can be switched on. The sensor sends out a JOIN request. Each hotspot that has received the JOIN request forwards this packet to the network server. If the keys can be assigned to a device, a hotspot sends a JOIN accept packet with the session keys and a device address back to the sensor. The sensor accepts these keys and can send data into the Helium LoRaWAN from now on. To activate a LHT65, press the user button on the back for a few seconds:
Each line in the event log can be opened. Here you can see, for example, which hotspots have received a data packet. You can also see the signal strength, frequency, noise ratio (SNR) and spreading factor:
LoRaWAN tries to send as few bytes as possible over the air. Therefore, sensor data is not transmitted in plain text, but compressed. An example: The temperature value "-12.50°C" would require around eight bytes in plain text. An encoder in the sensor can multiply the temperature value by 100 and provide an offset so that the value can be accommodated in a 16-bit integer (whole number value) without decimal places and negative signs. This means that only two bytes are required for the same information. The decoder in turn performs opposite operations to the encoder and converts the temperature value back to the original formatting. There is more information about the compression of the payload data in this article: The LoRaWAN Payload. A decoder is usually stored in the LoRaWAN network, but can often be integrated into the application. A custom script is created for an LHT65 under the menu item "Functions":
The decoder script is provided by the manufacturer for a finished sensor. For the LHT65 with DS18B20 the following decoder can be used:
//Payload decoder for LHT65 with external DS18B20
function Decoder(bytes, port) {

  var batt_v = ((bytes[0]<<8 | bytes[1]) & 0x3FFF)/1000;
  var temp_int = ((bytes[2]<<24>>16 | bytes[3])/100).toFixed(2);
  var temp_ext = ((bytes[7]<<24>>16 | bytes[8])/100).toFixed(2);
  var hum_int = ((bytes[4]<<8 | bytes[5])/10).toFixed(1);
  var ext_sen =
       {
         "0":"No external sensor",
         "1":"Temperature Sensor",
       }[bytes[6]&0x7F];

    return {
      Ext_sensor: ext_sen,
      BatV: batt_v,
      TempC_SHT: temp_int,
      Hum_SHT: hum_int,
      TempC_DS: temp_ext,
    };
}
This decoder can be inserted as a custom script:
After a successful JOIN request, the sensor sends the measured values to the Helium LoRaWAN at a specified interval. In the console, the received data packets are counted and the corresponding DCs are debited:
The Helium network only takes care of the transport of the data, but not the display. Under the Integrations menu item, at least one interface must be added where the data is forwarded. This can be an own homepage, a storage service or a public cloud. More examples will follow in the second part.
The second part of the LoRa GPS Tracker project is about the setup of LoRa and the registration at TTS (The Things Stack), the successor of TTN
read more
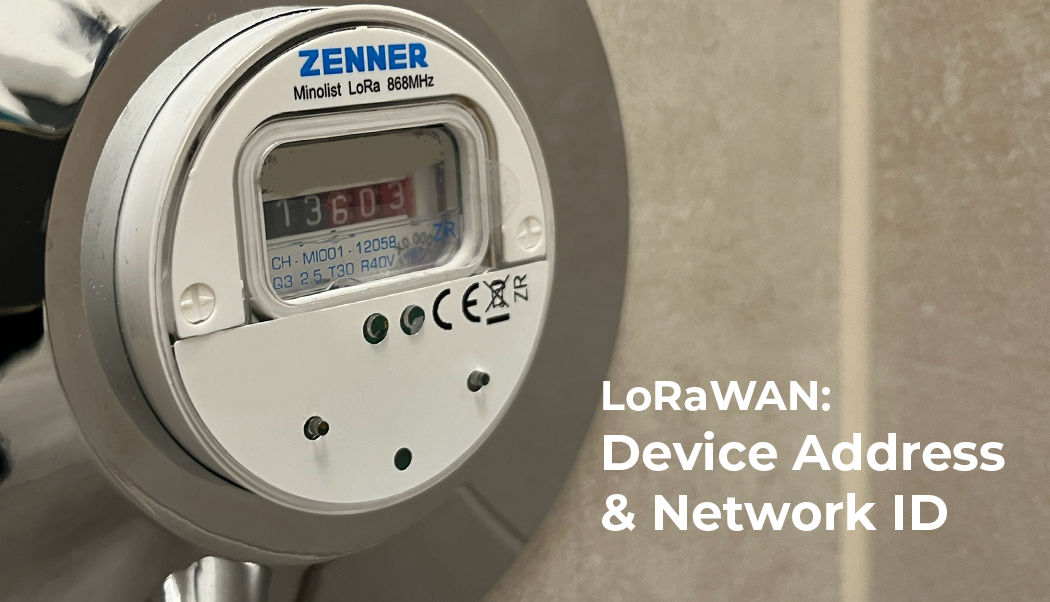
Each LoRaWAN end device has its own device address, which is either statically assigned (ABP) or assigned by the LoRaWAN network (OTTA)
read moreAEQ-WEB © 2015-2025 All Right Reserved